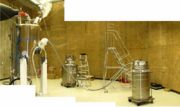
UC Irvine N2 filling procedure (Oxford 800 MHz)
From NMR Wiki
Duration: ~1.5-2 hrs (starting at 25 % level) + 0.5-1 hr to thaw-off and remove the transfer line.
Equipment
- full 200 L liquid nitrogen tank on wheels, non-magnetic, 22psi
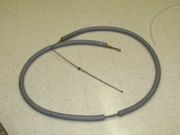
- liquid nitrogen transfer line (Fig. 1)
- non-magnetic wrench to connect transfer line
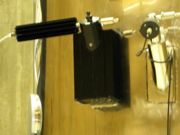
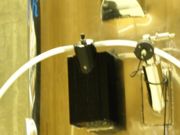
- two plastic tubings to fit exhaust ports
- aluminum stair-case ladder on wheels
Procedure
- write down level of liquid nitrogen, nitrogen and He boil-off rates
- lower the magnet on the antivibration legs by letting out commressed air supporting the magnet
- prepare N2 port on the magnet as shown on figure 3
- bring the tank (22 psi, 200L on wheels) within ~3-4 m of the magnet
- connect transfer line to the tank (using non-magnetic wrench)
- open output valve on the tank to cool the transfer line.
- as output nozzle of the liquid N2 line cools, continuously keep wiping off any condensation/frost with towel or thick glove
- once liquid nitrogen starts sprouting from the nozzle, close the valve
- remove remaining frost from outer surface of the nozzle
- insert nozzle into the magnet N2 inlet port; note the depth of insertion, do not let the nozzle reach maximum depth; if you feel transfer line cannot be driven any lower - pull it upwards an inch or so.
- hand-tighten the nut securing transfer line to the magnet N2 inlet port, while not attempting to support the weight of the transfer line; the latter measure helps prevent leaks of liquid N2 during the fill
- open the output valve on tank, open pressure builder valve
- wrap open metal parts of the transfer line with cloth towels - especially the nozzle as it helps prevent accumulation of frost and speeds up thaw-off in the end
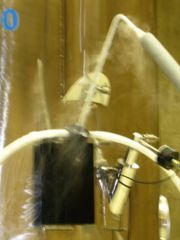
- watch the increase of liquid nitrogen level on the monitor screen - it should be 0.5-1.0 %/min
- close tank outlet valve once liquid starts sprouting from the exhaust tubings
- let the nozzle thaw, then remove it, re-attach N2 exhaust pipe and emergency release valve
- restore pressure in the antivibration legs
